Friday 30 August 2019

PRIVACY POLICY Modi App

This is an agreement between Infokit Apps, an Indian company, the owner and operator of  “Selfie With Narendra Modi JiApp Site”, the Selfie With Narendra Modi Ji App software, including Hasmukh App Application (collectively, including all content provided by Hasmukh App through Selfie With Narendra Modi Ji App application and the Selfie With Narendra Modi Ji App Site, the "Selfie With Narendra Modi Ji App Service", or the "Service"), and you (“you” or “You”), a user of the Service. By using the service, you acknowledge and agree to these terms of service, and Selfie With Narendra Modi Ji App's privacy policy. If you choose to not agree with any of these terms, you may not use the Service.
WHAT DOES THIS PRIVACY POLICY COVER?
This Privacy Policy is part of Selfie With Narendra Modi Ji App’s Terms of Service and covers the treatment of user information, including personally identifying information, obtained by Selfie With Narendra Modi Ji App, including information obtained when you access the Selfie With Narendra Modi Ji App’s Site, use the Selfie With Narendra Modi JiApp Application or any other software or services provided by Selfie With Narendra Modi Ji App.
This Privacy Policy does not apply to the practices of companies that Selfie With Narendra Modi Ji App does not own or control, or to individuals whom Selfie With Narendra Modi Ji App does not employ or manage, including any of the third parties to which Selfie With Narendra Modi Ji App may disclose user information as set forth in this Privacy Policy.
THE INFORMATION Selfie With Narendra Modi Ji App COLLECTS
Selfie With Narendra Modi Ji App may obtain the following types of information from or concerning you or your mobile phone device, which may include information that can be used to identify you as specified below (“Personally Identifying Information”):
User Provided Information: You provide certain Personally Identifiable Information, such as your name, email id, gender, pictures, phone number, nationality and certain information to Selfie With Narendra Modi Ji App when choosing to participate in various uses of the Hasmukh App Service, such as registering as a user, ambassador etc.
THE WAY Selfie With Narendra Modi Ji App USES INFORMATION
In addition to some of the specific uses of information we describe in this Privacy Policy, we may use information that we receive to:
·         Help you efficiently access your information after you register
·         Remember information so you will not have to re-enter it during your visit or the next time you visit the Service;
·         Provide, improve, test, and monitor the effectiveness of our Service
·         Develop and test new products and features
·         Monitor metrics such as total number of visitors, traffic, and demographic patterns
·         Diagnose or fix technology problems
·         Contact you so as to update you with new offers, information, features, notifications etc.
WHEN Selfie With Narendra Modi Ji App DISCLOSES INFORMATION
We do not sell or share your Personally Identifiable Information (such as mobile phone number) with other third-party companies for their commercial or marketing use without your consent or except as part of a specific program or feature for which you will have the ability to opt-in or opt-out. We may share your Personally Identifiable Information with third party service providers to the extent that it is reasonably necessary to perform, improve or maintain the Selfie With Narendra Modi Ji App Services. We may share non-personally-identifiable information (such as anonymous User usage data, referring / exit pages and URLs, platform types, asset views, number of clicks, etc.) with interested third-parties to assist them in understanding the usage patterns for certain content, services, advertisements, promotions, and/or functionality on the Selfie With Narendra Modi Ji App Site. We may collect and release Personally Identifiable Information and/or non-personally-identifiable information if required to do so by law, or in the good-faith belief that such action is necessary to comply with jurisdiction laws of India or any other nation where Selfie With Narendra Modi Ji App operates to respond to a court’s order or search warrant or equivalent, or where in our reasonable belief, an individual’s physical safety may be at risk or threatened. Selfie With Narendra Modi Ji App also reserves the right to disclose Personally Identifiable Information and/or non-personally-identifiable information that Selfie With Narendra Modi Ji App believes, in good faith, is appropriate or necessary to enforce our Terms of Service, take precautions against liability, to investigate and defend itself against any third-party claims or allegations, to assist government enforcement agencies, to protect the security or integrity of the Selfie With Narendra Modi Ji App Site or our servers, and to protect the rights, property, or personal safety of Selfie With Narendra Modi Ji App, our users or others.

CHANGES AND UPDATES TO THIS PRIVACY NOTICE
This Privacy Policy may be revised periodically and this will be reflected by the "effective date" below. Please revisit this page to stay aware of any changes. Your continued use of the Selfie With Narendra Modi Ji App Site, Selfie With Narendra Modi Ji App Application and Selfie With Narendra Modi Ji App Services constitutes your agreement to this Privacy Policy and any amendments.

Sunday 28 January 2018

Logging in Android

I am sure that each developer out there have heard the phrase ‘Check the logs’ at least once during his or here career! And checking the logs have saved my ass several times this month. But what exactly a log message is and what are the advantages and disadvantages of logging? Let’s try to find out!

What is logging?

Logging — the cutting, skidding, on-site processing and loading of trees onto trucks. (taken from Wikipedia) OK just kidding… but what about logging in software development? This is the process of printing or saving information about what exactly your code is doing and what is the current data it works with.
Most, if not all, programming languages support the idea of logging in one way or another. Although, the syntax is probably different, the general idea is always the same.

Pros & Cons of Logging

If used properly, logging can be a life-saving mechanism for discovering bugs, performance issues and other problems. It can also provide valuable information about the usage of your software.
But if done poorly, it can make your life miserable… We all know that feeling of going through thousands and thousands of lines of log messages without any useful info at all.

Pros:

  • A cheap way of building a stacktrace or a mechanism for monitoring the order of methods execution
  • A way to follow different logic flows throughout your source code
  • A way for monitoring the actual data your code works with

Cons (if done poorly):

  • Can generate tons of useless info
  • Can significantly decrease the readability of your source code

Logging options in Android

The Android framework has it own set of logging options. There is a special Log class which provides the needed functionality for printing a log message. There are also several different types of log messages, which can be used in different situations:
  • Log.e — used for logging messages of type ERROR. This type is usually used inside of catch statements. It notifies us that something bad happened.
  • Log.w — used for logging messages of type WARN (warning). A common use-case for this type is when something strange happened, but it is not necessarily an error.
  • Log.i — used for logging messages of type INFO. It’s perfect when we want to log some useful info like connecting to a server, successfully finishing a process, successfully receiving info from another universe, etc.
  • Log.d — for these cases when you need to be sure that a + b = c or when you want to check if that problematic if statement is actually working. Thus, d stands for DEBUG. Some of you may think that, if this log message is used for debugging, then ALL Log.d messages will be stripped automatically during runtime. And if you refer to the official Android documentation, you will be right! But… in reality that’s not the case. You will have to make some additional steps in order to achieve that.
  • Log.v — V for Vendetta… nope… ‘v’ stands for VERBOSE. This is more like a general type of a log message. You should use it whenever you want to print some very detailed info about the event that occurred.
  • Log.wtf — I know what you are thinking, but ‘wtf’ stands for ‘What a Terrible Failure’. It looks like Log.e, but it’s way more sever. It’s to be used in these strange cases, which should never happen but… they do from time to time…

Monday 25 April 2016

How to delete a blogger block

how to delete blog from blogger
  1. Image titled Delete a Blog on Blogger Step 1
    1
    Log into Blogger with your Google account. You'll need to log in with the account that controls the blog you want to delete.
    • Only owners or administrators can delete a blog.
  2. Image titled Delete a Blog on Blogger Step 2
    2
    Find the blog that you want to delete. All of the blogs that your account has created will be listed at the top of the Blogger home page. Find the one in the list that you want to delete.
  3. 3
    Delete any images you want removed immediately. Images may stick around even after the blog is deleted. Removing these images before deleting the blog will help ensure that they are promptly deleted. Follow the steps in the previous section to remove any posts that have images before deleting your account.[1]
  4. Image titled Delete a Blog on Blogger Step 3
    4
    Click the . button and select "Settings" from the menu. This will open the Settings page for your blog. You can also click your blog's title and then click Settings in the left menu.
  5. Image titled Delete a Blog on Blogger Step 4
    5
    Click the "Other" option in the left-hand menu. This is located at the very bottom of the menu on the left. If the "Settings" menu isn't expanded, click it to expand it and find the "Other" option.
  6. Image titled Delete a Blog on Blogger Step 5amp;cb=1461598560756&url=http%3A%2F%2Fwww.wikihow.com%2FDelete-a-Blog-on-Blogger&c.width=726&c.height=106&c.tag_id=21083&c.taglink_id=38041&c.scale=1.0027548&c.url=http%3A%2F%2Fwww.wikihow.com%2FDelete-a-Blog-on-Blogger&c.params=&c.impression_type=26&c.placement_id=ad0.11912116427320196" border="0" alt=""></a>
    6
    Click the "Delete blog" link. This can be found in the "Blog tools" section at the top of the "Other" page.
  7. Image titled Delete a Blog on Blogger Step 6
    7
    Download your blog before deleting it (optional). Before your blog is deleted, you're given the option to download your blog to your computer first. Click Download Blog and the blog will be downloaded in XML format. You can open it in any news reader program and the blog will look as it did when it was online.
  8. Image titled Delete a Blog on Blogger Step 7
    8
    Confirm that you want to delete the blog. Click orange "Delete This Blog" button to confirm that you want to delete it. If you change your mind after deleting it, you have 90 days to restore it before it is deleted forever.[2]
    • To restore a blog, open the list of "Deleted blogs" on your Blogger home page and click the Undelete button next to it.
  9. 9
    Remove your blog's URL from Google Search (optional). Even though your blog has been deleted, a cached copy may still appear in the Google Search results. Eventually it will disappear when the Google crawler bots come back to it, but if you need it removed immediately you can submit a request using the Google Search Console. Enter the URL of your blog to have it removed from the Google Search Results. This still may take a little while, as the request has to be reviewed.
  10. Image titled Delete a Blog on Blogger Step 8
    10
    Delete your Google account to delete your Blogger account (optional). If you no longer want your Blogger account, you'll need to make the hard decision to delete your Google account, as the two are one and the same. Deleting your Google account will remove access to all Google products you use, such as Gmail, your YouTube profile, and Google+.

Part 2
Deleting Specific Posts

  1. 1
    Log into your Blogger dashboard. If you want to delete specific posts, you can do some from your dashboard. Log in with your Blogger (Google) account at blogger.com. You'll need to log in with an owner or administrator account for the blog that you want to remove posts from.
  2. 2
    Click the "Posts" button next to your blog's name. The "Posts" button looks like two pieces of paper stacked on top of each other. This will open a list of all of the pages that are currently published on your blog.
  3. 3
    Check the box next to each post you want to remove. You can remove multiple posts at once this way. If you want to delete every post, check the box at the top of the list to select them all.
  4. 4
    Click the Trash button at the top of the list. You will be asked to confirm that you want to delete all of the selected posts. Once you confirm, all of your selected posts will be removed.

Saturday 16 April 2016

1.2.1 incompatible with Android Studio 2.0?

Problem..
I'm getting the following Plugin error, although I'm able to perform git operations to bitbucket:
PM Plugin Error Problems found loading plugins: Following plugins are incompatible with current IDE build: Bitbucket
Solution...

Try use jetbrains bitbucket connector: https://bitbucket.org/dmitry_cherkas/jetbrains-bitbucket-connector/downloads, i use jetbrains-bitbucket-connector_IC-139.224.zip
After dowloading you need install this plugin. In Android Studio: File -> Settings -> Plugins -> Install plugin from disk -> {choose downloaded file} -> restart Android Studio


Friday 7 August 2015

Top Android learning website for beginners


If you want to learn Android programming there are a lot of Android tutorials and other learning materials online. There are lots of beginner tutorials and tons of advanced tutorials from various sources. We at SitePoint also offer a new Android development tutorial every now and then.
When there is so much information and you are a beginner, it’s easy to get confused about where to start. To make it easy for you and with no illusions that this list of Android tutorials is the best or complete, here are 12 Android tutorials to start with.
Not all the tutorials and their content are strictly beginner beginner focussed. Some of them start out for beginners and then delve into more advanced topics. So if you can’t follow everything in every single tutorial, don’t get desperate or frustrated.
If you encounter a hurdle, just spend more time with the tutorial, reading it a couple of times if necessary. If you are still not on friendly terms with it, there is no drama – just move forward and revisit it later.

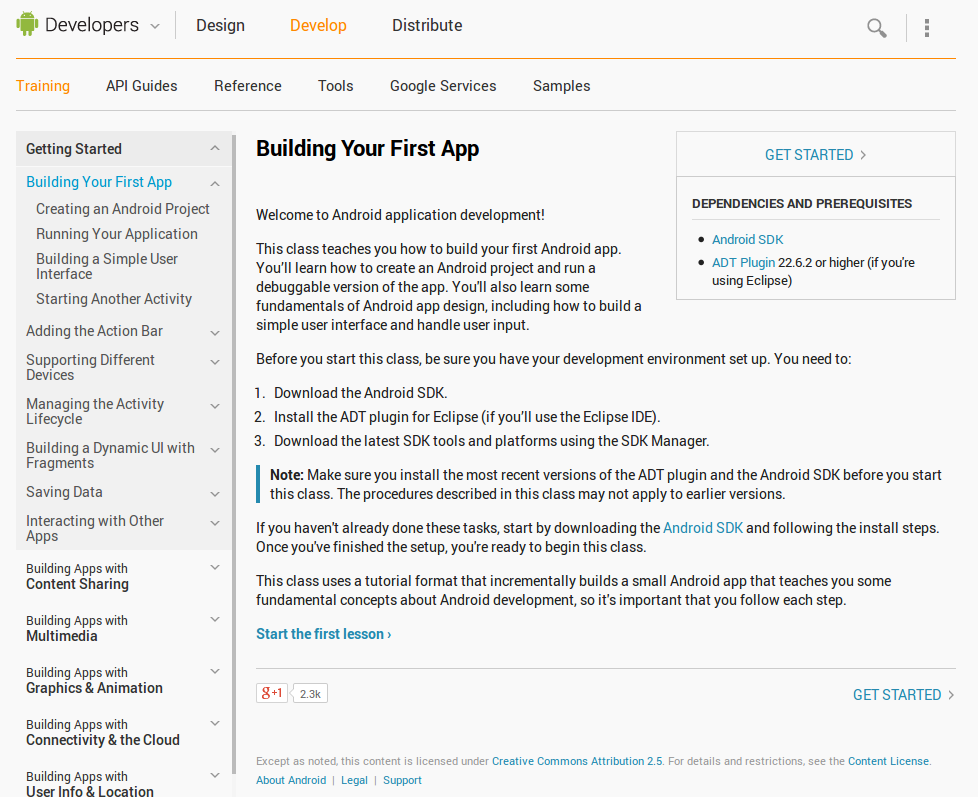
Building Your First App

Naturally, we start the list with a tutorial from Google, the creators of Android. The ‘Building Your First App‘ tutorial starts from the very beginning and it’s suitable for absolute beginners. If you have no programming knowledge whatsoever, don’t expect to be able to handle the tutorial but if you have some programming background, it’s easy.
The tutorial has several ‘Best Practice’ sections at the end. This is good because all the important content about the topic in one place and you just have to read it.
01 - Building Your First App

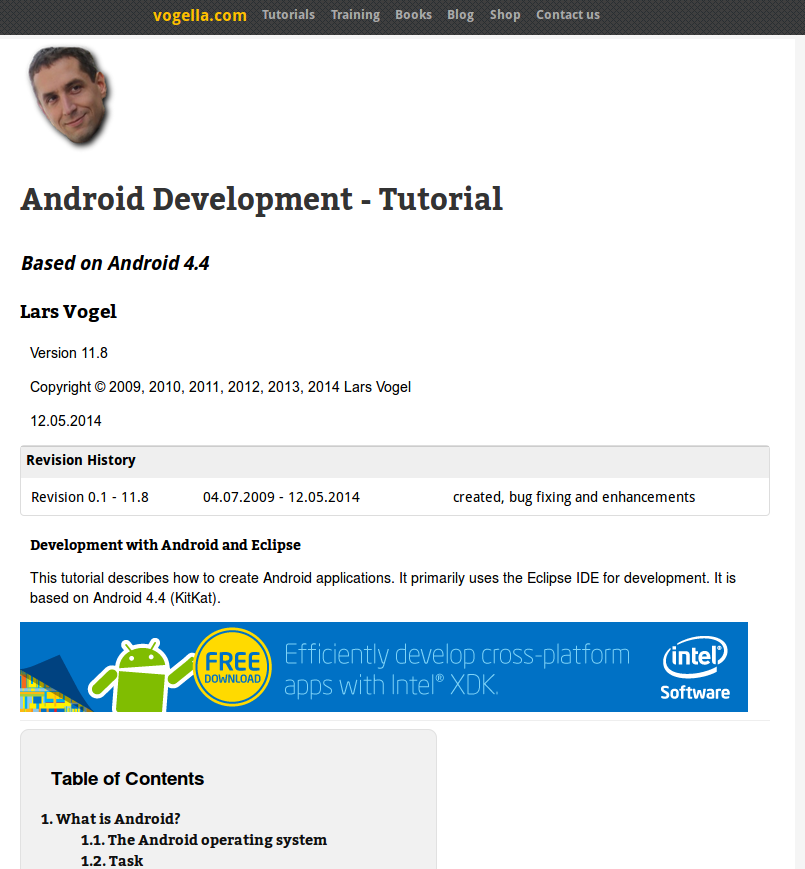
Android Development – Tutorial

The reason this tutorial is near the top is that it’s very up-to-date (based on Android 4.4, the latest Android version as of today).
This tutorial has more topics and information than the tutorial from Google, so if you are looking for an in-depth tutorial, this is one the.
02 - Android Development - Tutorial
It’s not an easy or quick tutorial. If you want to get the most from it, you will need quite a lot of time to read it from start to finish. It can be a great source if you need to consult a given topic in detail.

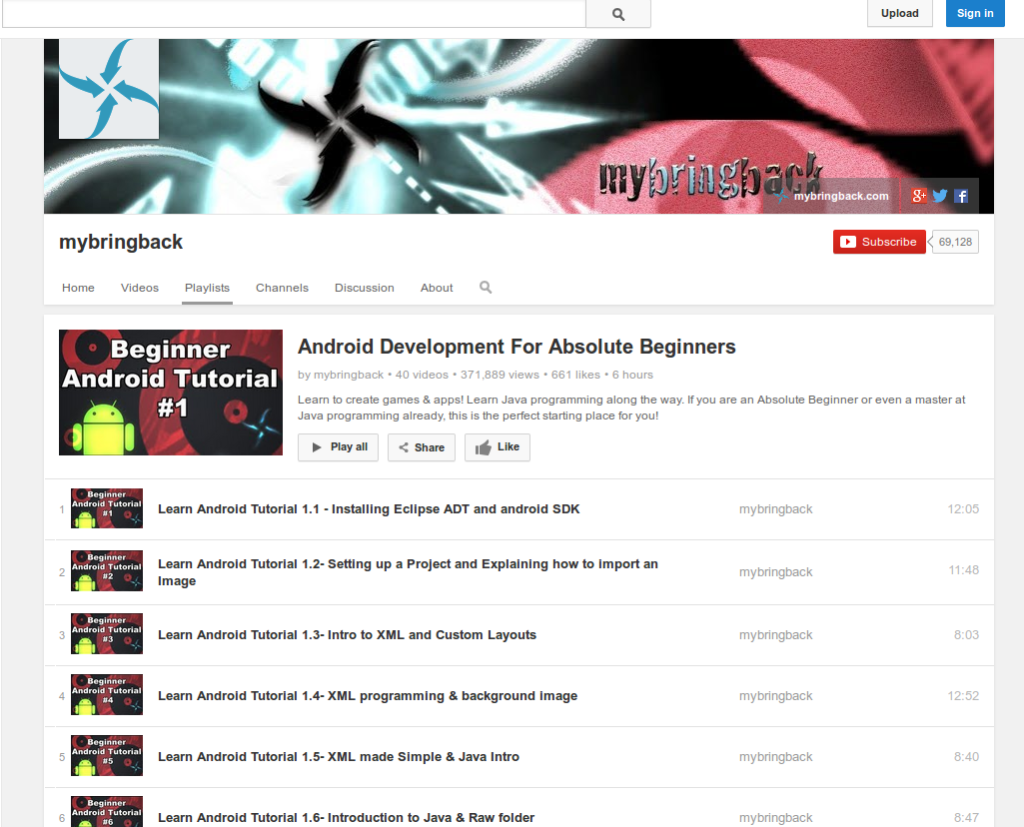
3. Video Tutorials Series

I find video tutorials less useful (except when they teach design, animation, or any other visual topic) but for many people they are the preferred way of learning. If you belong to this group, you will love this series of video tutorials.
03 - Android Video Tutorials
It’s a comprehensive series of video tutorials ranging from under 5 to 15 minutes in length. Similarly to the previous two tutorials, this series covers everything from absolute beginner level to advanced topics.

An Android Tutorial/Book

It might be old-school, but for me the best way to get a complete idea about something is by reading a book about it. In a book, everything is organized logically, pages are numbered and keep their layout and there is enough text to explain the and code/graphics. The first two tutorials in this list are book-like but if you want something more authentic you could print them. Even better, a pdf tutorial, like this one, is a much better option.
04 - PDF Tutorial
This is one more general tutorial that covers Android development from beginner level to advanced.

Game Development Series

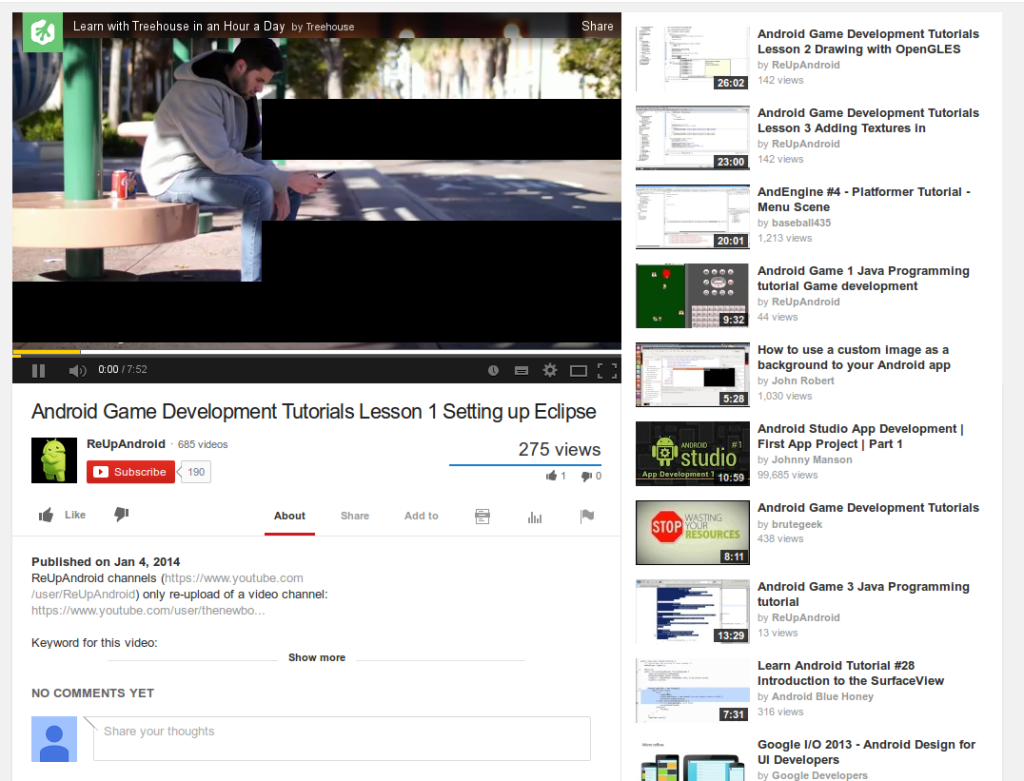
If you have some knowledge about Android but you want to delve into games development, this series of video tutorials is a great start. The series starts with the very basics of Android (and Eclipse) but my personal feeling is that if you are a total stranger to Android, the journey will be too hard.
05 - Android Game Development Tutorial
From what I saw, the series mentions general Android as well, not only game development. If you don’t know Android basics, my advice is to first read some of the general Android tutorials and then move to specialized topics, such as game development.

Better User Interfaces with the Android Action Bar

After you have had enough of general Android tutorials, let’s move to tutorials for common tasks. For some of these topics you can find information in the general tutorials as well but if you want more detail, this is for you. The first tutorial is about how to build Better User Interfaces with the Android Action Bar.
06 - Action Bar
In this tutorial you will learn how to set up the action bar, how to add actions, how to split, hide, and overlay it, as well as how to add navigation. You will also learn about action bar interactivity, such as how to handle clicks on its items and to use action views.

Learning to Parse XML Data in Your Android App

While you could write Android applications that do not involve any data input, often you will need external data. In such cases you need to know how to handle this data. XML can help you a lot and this is why I’ve included a tutorial on how to Parse XML Data in Your Android App.
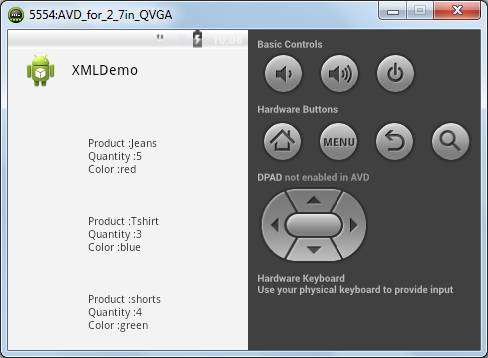
This tutorial leads you step by step in the world of XML parsing. It also helps you create a parser that will look like the one shown in the next screenshot.
07 - XML Parsing Tutorial
Some More Online Web Sites Are..
  1. www.javatpoint.com/android-tutorial
  2. developer.android.com/
  3. www.tutorialspoint.com/android/
  4. www.codelearn.org/android-tutorial
  5. www.vogella.com/tutorials/Android/article.html
  6. developer.android.com/ 
  7. www.tutorialspoint.com/android/
  8.  www.javatpoint.com/android-tutorial 
  9. www.codelearn.org/android-tutorial
  10.  www.vogella.com/tutorials/Android/article.html 
  11. www.raywenderlich.com/78574/android-tutorial-for-beginners-part-1
  12. www.coreservlets.com/android-tutorial/
  13.  www.mkyong.com/tutorials/android-tutorial/
  14.  www.sitepoint.com/12-android-tutorials-beginners/ programmerguru.com/android-tutorial/ www.edumobile.org/tutorials/android/
  15.  www.androidhive.info/

how to change android SDK and JDK in android studio

From Android Studio 1.0.1
Go to
  1. File -> project Structure into Project Structure
  2. Left -> SDK Location
  3. SDK location select Android SDK location (old version use Press +, add another sdk)


Configuring Gradle Builds

This section builds on the Build System Overview and Build and Running from Android Studio to show you how to use build variants based on product flavors and build types.

Build Configuration Basics


Android Studio projects contain a top-level build file and a build file for each module. The build files are called build.gradle, and they are plain text files that use Groovy syntax to configure the build with the elements provided by the Android plugin for Gradle. In most cases, you only need to edit the build files at the module level. For example, the build file for the app module in the BuildSystemExample project looks like this:
apply plugin: 'com.android.application'

android {
    compileSdkVersion 19
    buildToolsVersion "19.0.0"

    defaultConfig {
        minSdkVersion 8
        targetSdkVersion 19
        versionCode 1
        versionName "1.0"
    }
    buildTypes {
        release {
            minifyEnabled true
            proguardFiles getDefaultProguardFile('proguard-android.txt'), 'proguard-rules.pro'
        }
    }
}

dependencies {
    compile project(":lib")
    compile 'com.android.support:appcompat-v7:19.0.1'
    compile fileTree(dir: 'libs', include: ['*.jar'])